The Perfect Imperfection- Another Woodworking Project
woodworking
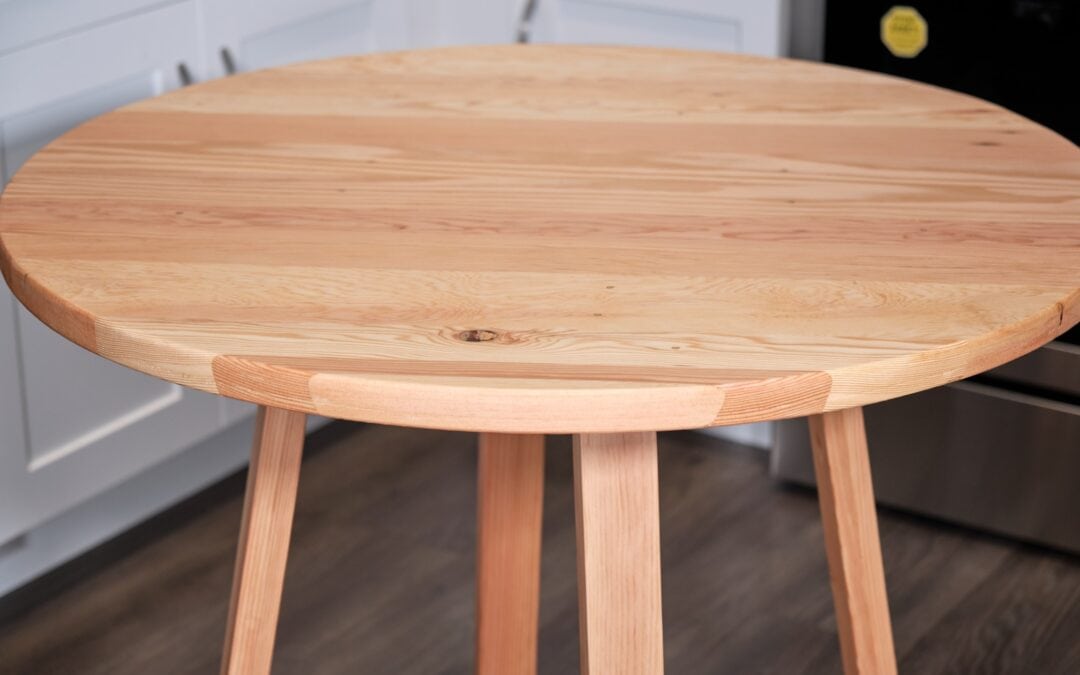
I made a round dining table out of reclaimed Douglas Fir from my friend's house. The woods are from exterior trimming with many rotten parts, nails and black paint over it. I invested in a thickness planer Dewalt DW734 to make wood preparation a little easier. It worked, but not as smoothly as I originally thought, I think I might just need more practice.
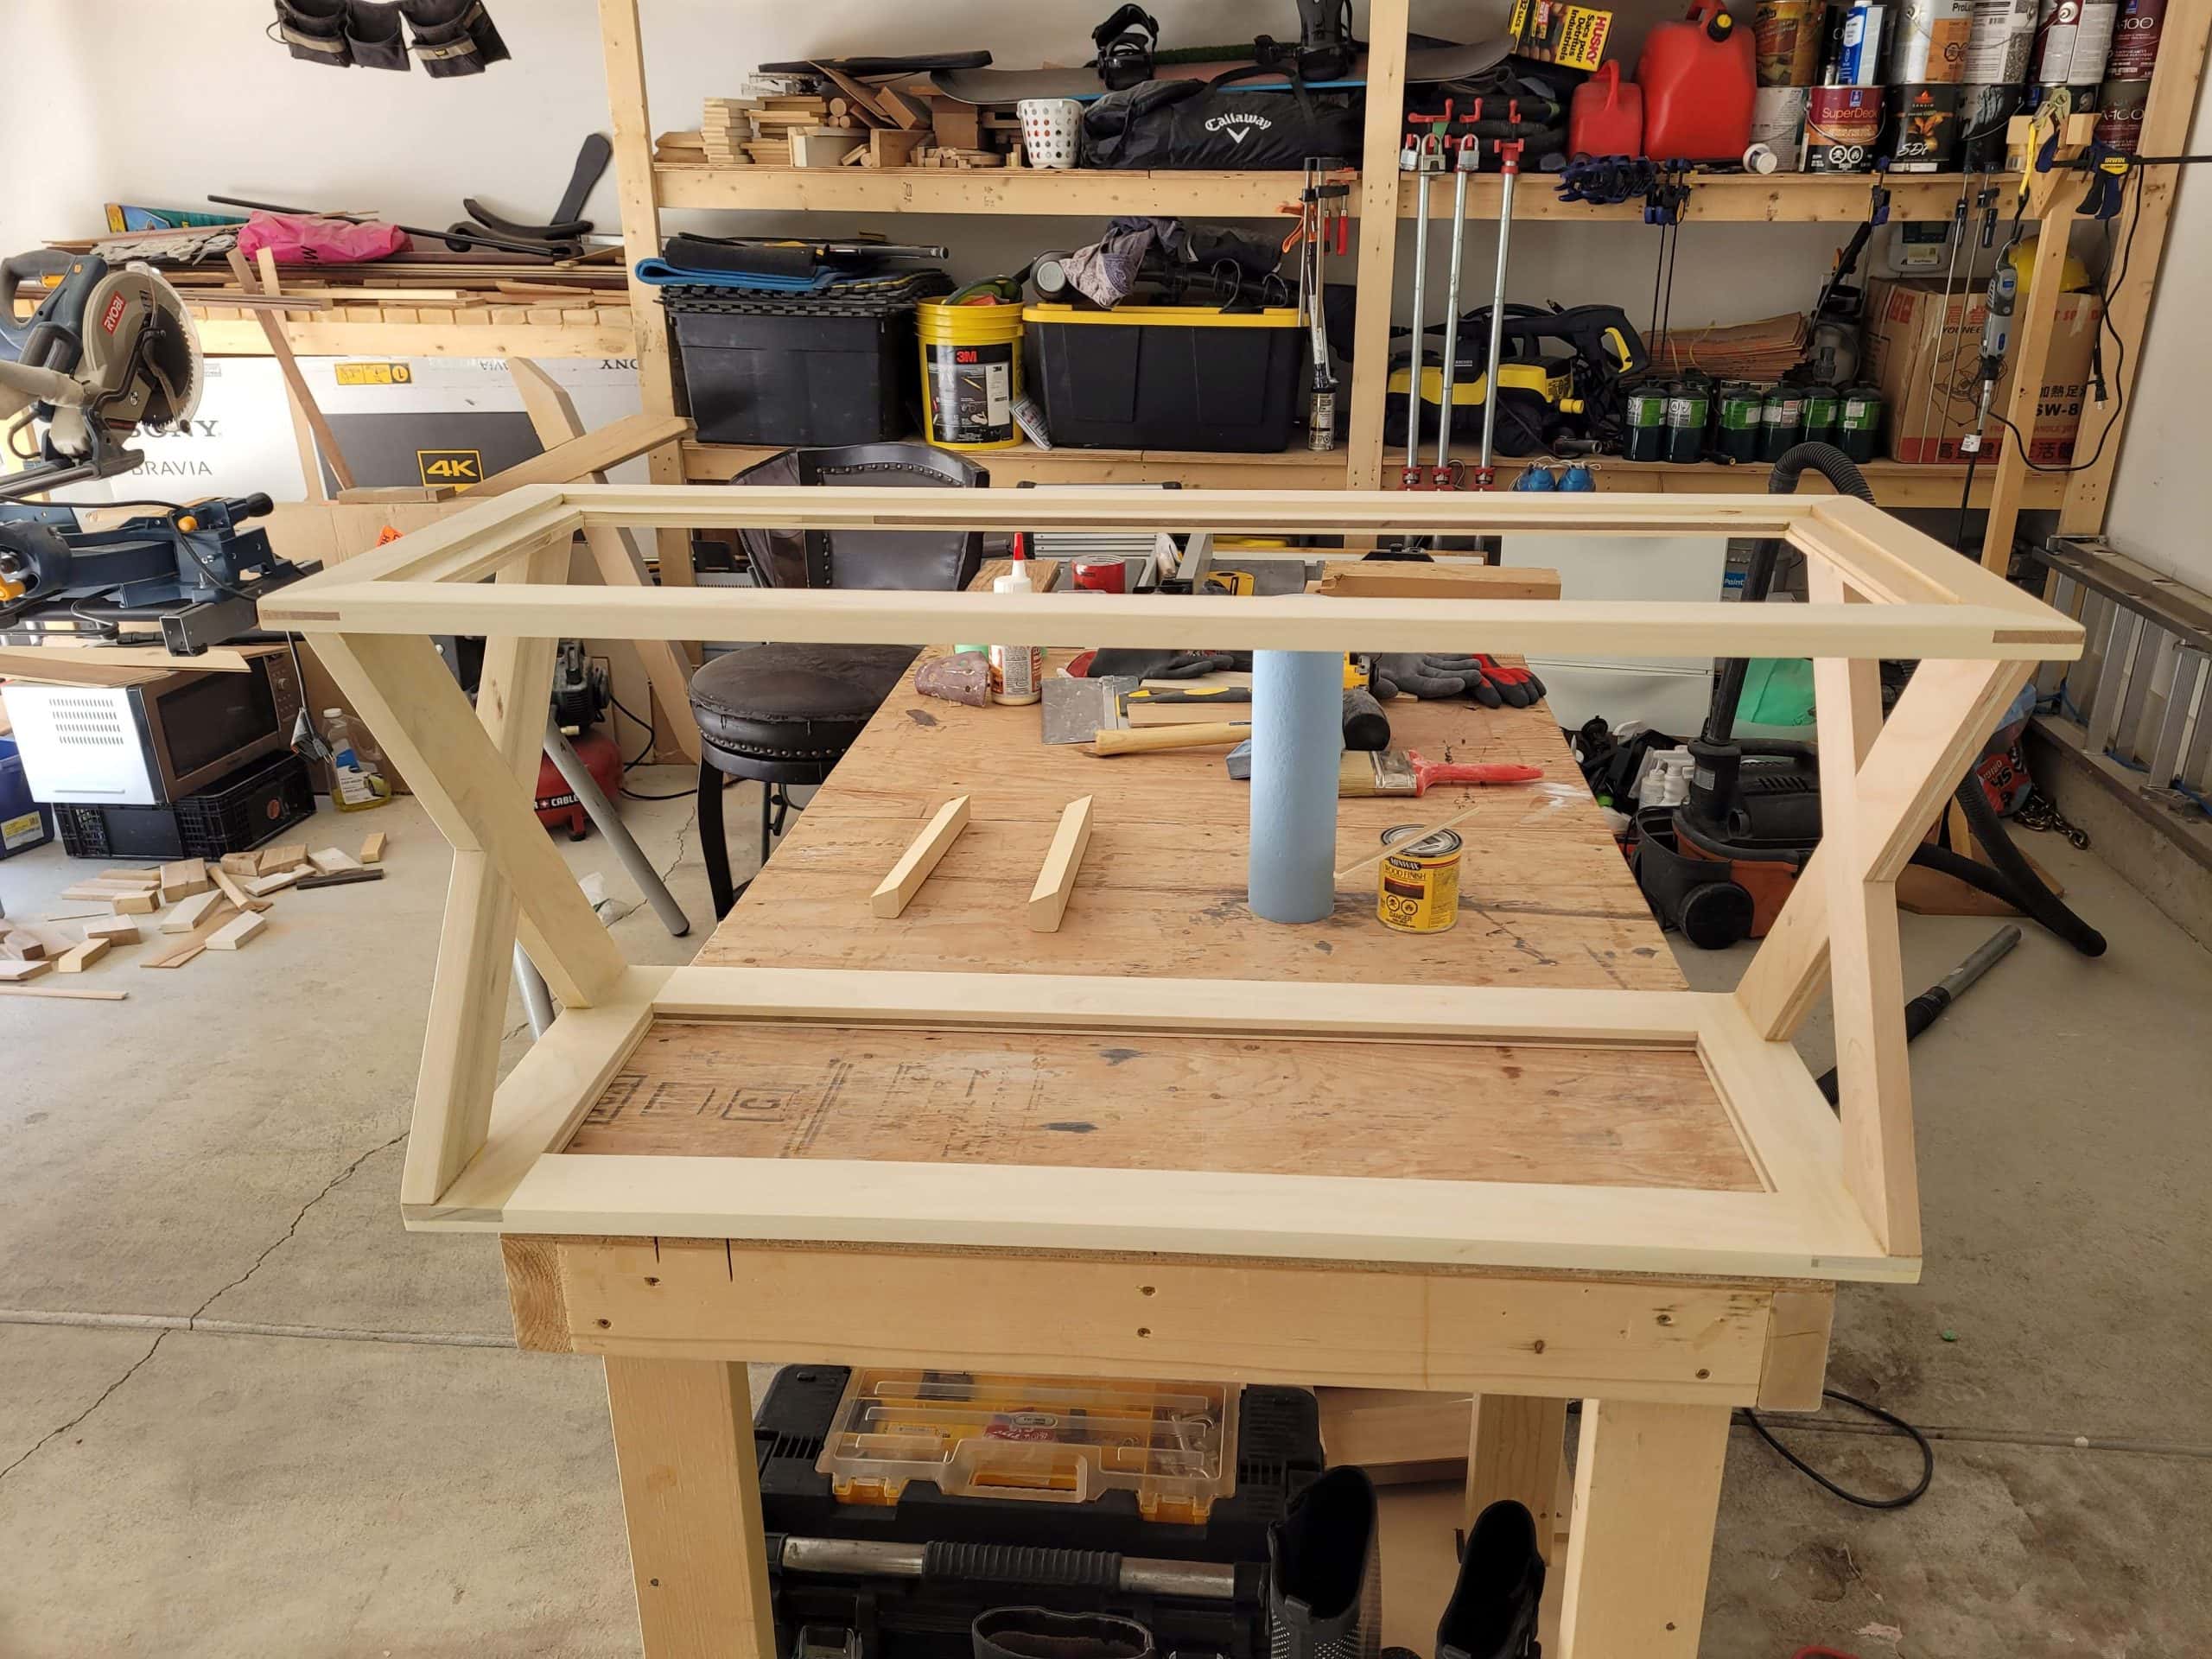
The table is 36” round which is the biggest I can possibly get from the available size and it’s good for my usage. Of course, lots of glue has been applied. I ran out all the wood for the tabe top and bought additional 1x3 Fir and glued them into 2x3 as a 2x4 might look too bulky. It looks more balanced with a 1 ¼” thick top and 2x3 legs, in my opinion.
The project went very smoothly until I made the first mistake, that is the leg part. When I glued two 1x3 together I left a cross notch which is just a width of 1x3, however, when gluing job done and I needed to straighten the 2x3 edge by a table saw, then I made 2x3 slimmer, of course the notches are widened by about 3/16”. All leg parts are in 80°, that imprecise notches did affect the accuracy, but I managed okay.
After sanding, I need to apply the finish. I did some research and want to make this process different from what I did previously. I narrowed down to two products: Rubio Monocoat and Odie’s Oil. They are natural and easy to apply, and believe it or not, it is not easy to source Rubio Monocoat here in the West Coast. I ended up using Odie’s Oil from Lee Valley, the applying process was pleasing, the odies smells good.
The perfect imperfection is to make mistakes, and learn the lessons from it, and make the next one better.


")